
Spirit Crossing Beginner Guide: Your First 7 Days
A day-by-day Spirit Crossing beginner route: Maya's fragments, Roomie's Moving quest, fishing, beacon donations, storms and the mistakes to avoid.
Quick answer: In your first week, prioritize the Maya fragment quest, finish Roomie's Moving quest to unlock the waystation, unlock fishing at the Cloud Pier, and donate Beacon Energy in 100-point batches. Do not sell your first stacks of flowers, ore or fish. Do not spend Sparks on cosmetics until your beacon is rank 4. And do not try to clear every quest marker before the daily reset — the game expects you to leave some for tomorrow.
Spirit Crossing is deliberately paced. The main story advances through short quest chains, then asks you to wait for the next day. Players who fight that rhythm burn out in the first evening. Players who treat it like a 60–90 minute daily routine get through the opening week comfortably.
This route was written on the November 16, 2026 launch build. Quest names and daily caps come from the live game and the official Spry Fox support pages. If a hotfix changes a number, the page date will change with it.
The one-screen version
| Day | Main goal | Why it matters |
|---|---|---|
| 1 | Maya's fragments, Roomie's tour, first waystation visit | Unlocks purification and the shared hub |
| 2 | Purify your first flowers, fish and blots | Turns raw clutter into dye, paper and ink |
| 3 | Finish Moving, inspect the beacon, join a waystation | Opens donations, plots and the trolley |
| 4 | Unlock fishing and finish Hardtack's first request | Opens the largest collection system |
| 5 | Donate 500–1,000 Beacon Energy | Raises beacon rank toward forging and recipes |
| 6 | Shelter through your first storm and repair | Teaches the defensive loop before it matters |
| 7 | Set up your home, introduce yourself to one player | Opens decoration, gifting and fast travel |
Day 1: follow the spirit, not the horizon
The opening storm is a tutorial, not a threat. Stay near the wreck, collect the glowing fragments, and bring them to Maya. You cannot outrun the storm and you are not supposed to; the game wants you to see the stamina drain once, then teaches shelter.
After Maya, Roomie takes over. The lozenge-shaped bear is your roommate and the closest thing to a quest board in the opening hours. Follow the prompts through the waystation inspection. When the Moving quest appears, accept it before you go exploring. It is the gate for the shared hub, and almost every other system is attached to that hub.
What to pick up on day one:
- Flowers. You will need hundreds for dye, not dozens. Pick every color.
- Mushrooms. Used for mordant and several early recipes.
- Ore and wood. The harvest minigame matters: a ring closes around the node, and you press the interact button when the inner ring aligns. A perfect hit gives more material.
- Blots. Small ink creatures. Purify them later; do not chase the giant ones yet.
- Old pots. One-time loot per wilderness. Open them, but do not build a route around them.
What not to do on day one: do not sell ore to the first vendor, do not spend Beacon Energy on a cosmetic, and do not accept every side quest in the log. Timed quests expire at reset, and a cluttered log makes it harder to see the campaign step.
Day 2: purification is the real unlock
Maya's purification ability is the line between "I have clutter" and "I have materials." The first upgrades turn flowers into pigment, fish into paper, mushrooms into drops, tubers into peeled food, and blots into ink. If a recipe or vendor asks for paper and you have a stack of fish, this is why.
Priorities on day two:
- Purify one stack of each flower color you have. Dye is the bottleneck for almost every outfit and decor project.
- Purify a few fish even if you are not collecting them. Paper is used by quests and crafting.
- Keep raw mushrooms until a recipe specifically asks for drops; mordant is easy to overproduce.
- Check the Skill Menu for newly available tool upgrades. Better tools shorten the harvest minigame and add durability.
Official source: Spirit Crossing support ↗ explains the shared DNA with Cozy Grove and the daily rhythm the studio designed around.
Day 3: the waystation is homework, not a lobby
The Moving quest ends with you choosing or joining a waystation. This is the game's shared neighborhood: a trolley dock, a beacon, a festival area, crafting stations, plots and overgrowth. You do not own it. You contribute to it.
Spend ten minutes reading the beacon panel before you donate anything. Donations come in batches of 100, 200 or 300 energy, and each batch returns one Beacon Spark plus a recipe fragment. The first ranks are cheap; later ranks cost thousands. A common beginner error is dumping every point of energy into the beacon on day three, then having none for a quest that asks for a specific donation.
A healthier first week: donate 500–1,000 total, keep the rest in reserve, and check whether your waystation has an Architect who can buy crafting stations. You cannot place advanced stations yourself until you have the role and the vote.
Day 4: fishing is the biggest system you can unlock early
Talk to Hardtack at the Cloud Pier. The pirate bear gives you the rod, teaches the cast, and starts the fishing quest chain. The loop is simple: cast into a cloud eddy, tap to hook when the bobber dips, tap again to reel. Five eddies per day, with a two-minute respawn.
Fishing matters because it feeds three other systems: the 216-fish collection, the paper economy, and the Lunker group activity. It is also the most reliable "I have ten minutes" activity in the game. If you only unlock one life skill in week one, make it this one.
Do not ignore the sky-fishing variant. Once the fluffalo train is available, you can cast at flying schools from the train and catch species that never appear at the pier. The fish collection guide→ tracks the split.
Day 5: push the beacon to rank 4
Rank 4 is the first meaningful combat-free power spike: it opens forging access at the waystation, which lets you upgrade tools and add Bounty or Riches paths. Bounty improves harvest rerolls; Riches adds coin and harvest bonuses. Neither is mandatory, but both make the daily loop faster.
How to get the energy without grinding:
- Complete NPC quests (about 20 energy each).
- Do waystation bounties (5–25 each).
- Touch passing spirits (3 each).
- Solve cairn puzzles (5 each).
- Attend the post-storm meteor window with a bonfire buff (3 per meteor instead of 1).
The Beacon Sparks guide→ has the full source table and the donation math.
Day 6: survive a storm on purpose
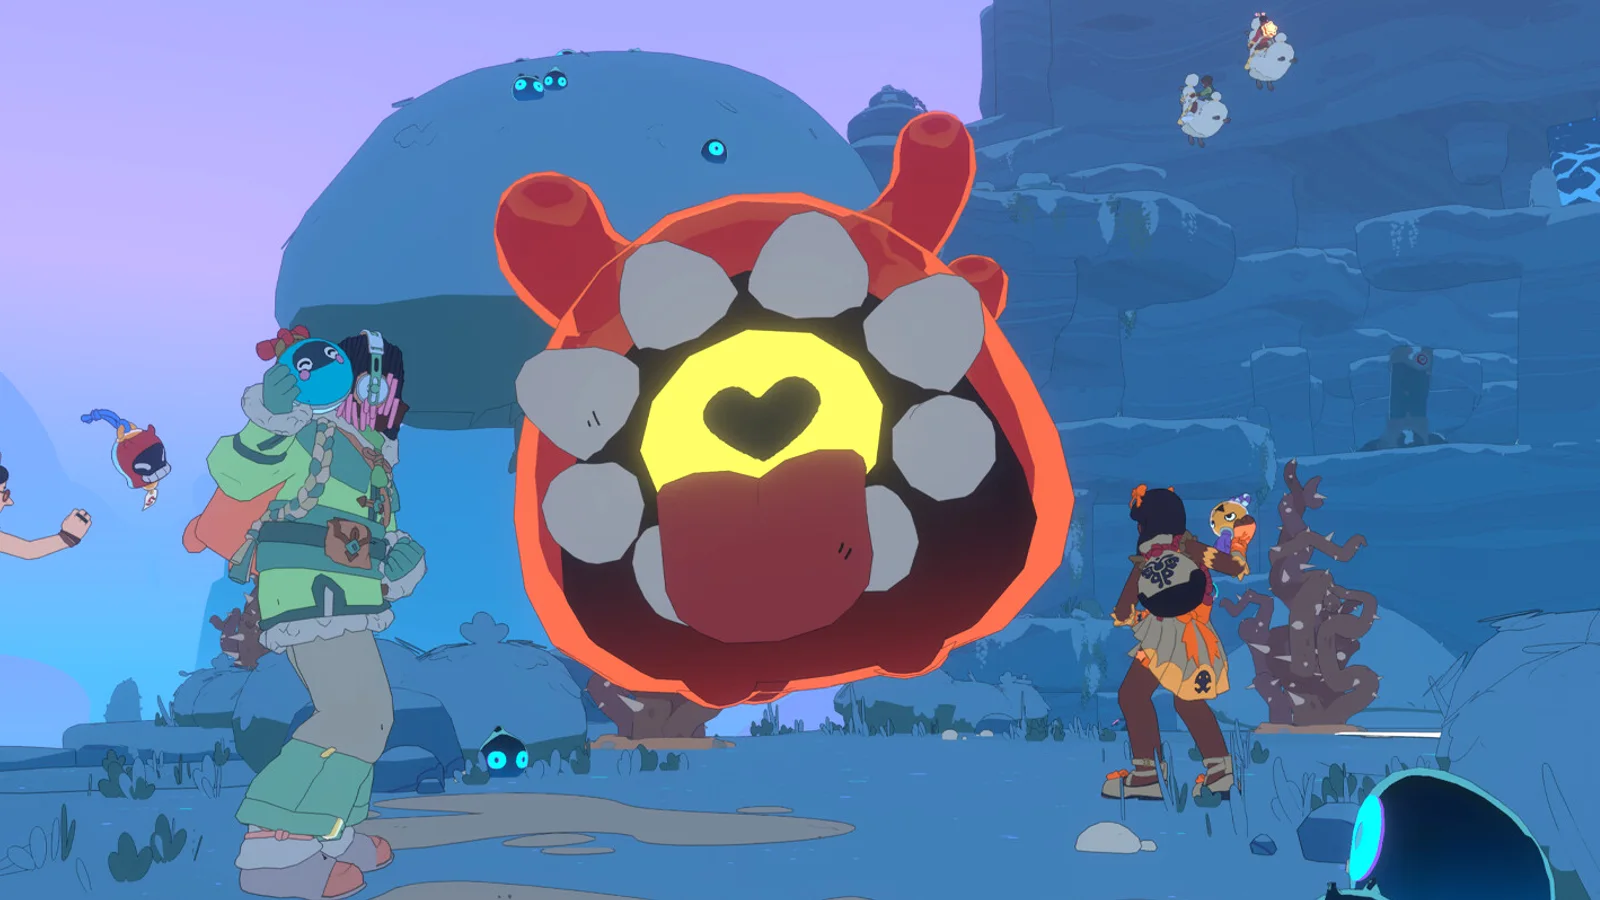
By day six you should have seen the warning: purple clouds, a countdown, and three storm monsters approaching from the south. Do not fight them. There is no combat. Get to a bonfire, sit, and wait out the five-to-ten-minute window. Playing an instrument with other players passes the time and grants a post-storm buff.
After the storm, walk the waystation perimeter. Repair what you can, check the beacon, and collect meteors. If the beacon was overwhelmed, the waystation loses members and progress; that is the one failure state worth caring about. The storm guide→ covers the schedule and the exact prep list.
Day 7: make the house yours, then make one friend
The home plot is private from the start, but it takes a week to accumulate enough furniture, dye and recipes for it to look intentional. Start with lighting and a rug; those two categories change a room more than another chair. Check storm resistance on outdoor items before you place them.
Then introduce yourself to one player. Walk near a grey silhouette, sit on the same bench or ride the same train, and use an expression. Names and color return after the introduction. This unlocks chat that is not garbled, gifting, and eventually teleporting to their home. Spirit Crossing is friendly by design, but the first introduction is the part most new players skip.
Five mistakes that cost a week
- Selling raw materials before purification. Purified goods are worth more and are required by quests.
- Donating every point of Beacon Energy immediately. Save 300–500 for quest demands.
- Ignoring the harvest ring. A perfect hit is a large material difference over a week.
- Treating timed quests as optional. They vanish at reset; pin the ones you intend to finish.
- Decorating outdoors with zero storm resistance. A storm can undo a placement spree.
FAQ
How long is the Spirit Crossing tutorial? About 45–75 minutes if you follow the prompts. The crash site, Maya's fragments and Roomie's waystation tour are the tutorial proper; fishing and the first storm come after.
Can I change my waystation later? Yes. You can move via the trolley or a guide NPC, and friend codes let you visit specific waystations. Moving does not delete your home.
What is the daily reset time? Spry Fox's support page says a new day starts at 4:00 AM PST, which is 12:00 PM UTC. Local daylight-saving time changes the local clock equivalent, not the UTC moment.
Should I buy Cozy Club in week one? Not necessary. Every copy includes 30 free days. Redeem them when you know you are staying, and read the Cozy Club guide→ before the trial converts.
Sources
- Spirit Crossing on Steam ↗ — launch date, platforms and online tags.
- What is Spirit Crossing? ↗ — official comparison with Cozy Grove.
- At what time does the day reset? ↗ — 4:00 AM PST / 12:00 PM UTC.
- Cozy Club membership intro ↗ — free 30 days and membership price.