
Spirit Crossing Walkthrough: Campaign Order Without Spoilers
A spoiler-light Spirit Crossing walkthrough: crash site, Maya, Roomie, the Moving quest, waystation rebuild, first storm and the festival gate.
Quick answer: The launch campaign runs in a fixed order — crash site and Maya, Roomie's waystation tour, the Moving quest, rebuilding the beacon, the first wilderness loop, a scripted storm defense, then the first festival. Each step unlocks a system rather than a new map. If you feel stuck, you are almost always missing a purification upgrade, a beacon rank, or a quest that only appears after the daily reset.
This walkthrough gives you the order and the gate for each step without narrating the story beats. Quest titles are the ones shown in the launch build; where a step has no official name, it is described by what you do.
Follow the acts in order. If an objective is missing, check the "gate" column before assuming a bug. Spirit Crossing hides quests until the prerequisite system is unlocked, and several steps intentionally wait for the next in-game day.
Campaign at a glance
| Act | What you do | Unlocks | Gate |
|---|---|---|---|
| 1 | Survive the opening storm, meet Maya, collect fragments | Purification, spirit language basics | None |
| 2 | Follow Roomie through the waystation | Beacon panel, shared hub | Maya's fragment turn-in |
| 3 | Complete the Moving quest | Plots, trolley, waystation membership | Roomie's tour |
| 4 | Donate energy and raise the beacon | Sparks, recipe fragments, forging at rank 4 | Moving quest |
| 5 | Unlock fishing and clear the pier requests | Rod, eddies, fish collection | Hardtack introduction |
| 6 | Explore the first wilderness | Ore, wood, old pots, blots | Act 4 |
| 7 | Defend during the scripted storm | Bonfire buff, meteor rewards, repair loop | Act 6 |
| 8 | Prepare the first festival | Festival area, instrument play, social quests | Act 7 |
The acts are not long. Most players finish acts 1–3 in one evening and hit the daily gate at act 4. That gate is the point: the game wants you to come back tomorrow, not to grind through the night.
Act 1: the crash site
You start in a storm with no shelter and no map. Walk toward the wreck, stay on the path, and pick up the glowing fragments. The storm drains stamina, but the tutorial does not let you die; it lets you feel the pressure once.
When you reach Maya, hand over the fragments. She is damaged, not hostile, and her dialogue introduces the spirit language. The first purification prompt follows immediately. Purify one flower if the game asks; the result is the first dye pigment and the first proof that raw materials are not the same as finished materials.
Gate check: If Maya will not take your fragments, count them. The quest requires the full set from the crash radius, including one behind the wreckage. The tracker highlights the remaining pickup.
Act 2: Roomie's tour
Roomie is the lozenge-shaped bear who becomes your roommate and guide. The tour is a disguised systems tutorial: beacon, trolley, plots, crafting stations, festival area. Do not skip dialogue here. The game later assumes you know which panel is which.
Two things to do before the tour ends:
- Open the beacon panel and read the donation tiers. Batches of 100, 200 and 300 energy return Sparks and recipe fragments. You do not have to donate yet.
- Open the map and find the Cloud Pier. Hardtack's fishing unlock is a short walk from the waystation and the best early detour.
Gate check: The Moving quest appears after the tour. If it does not, finish the remaining inspection prompts; the last one is usually the plot sign or the trolley dock.
Act 3: the Moving quest
The Moving quest is the campaign's first real choice: stay with the waystation you woke up in or move to another. For a new player, staying is simpler. You keep your mentor NPCs, the pier is close, and the waystation rank is already progressing.
If you move, you keep your home and inventory. The waystation changes, not your character. You can move again later via the trolley or a guide NPC, so this is not a permanent lock.
What the Moving quest unlocks:
- A personal plot and build permissions on that plot.
- The trolley network, including visits to other waystations.
- Voting and proposal rights, at the lowest role.
- The shared beacon's storm-defense loop.
Gate check: If the plot is still locked, you may need to place the Cornerstone first. The Cornerstone sets your home's name, description and visitor permissions.
Act 4: rebuild the beacon
This is the first long-term objective. Donate Beacon Energy until the beacon reaches rank 4. Rank 4 opens forging, which lets you upgrade tools and choose a Bounty or Riches path. Rank 6 and rank 9 upgrade those paths further.
Where the energy comes from in act 4:
- NPC quests: about 20 each.
- Waystation bounties: 5–25 each.
- Passing spirits: 3 each.
- Cairn puzzles: 5 each.
- Meteors after a storm: 3 each with a bonfire buff.
Do not dump every point into the beacon. Some quests ask for a specific donation, and a reserve of 300–500 prevents a wasted day. The Beacon Sparks guide→ has the full math.
Act 5: fishing and the pier
Hardtack's chain is optional for the main story but mandatory for the collection economy. The first request is a tutorial: cast into a cloud eddy, hook when the bobber dips, reel. Five eddies per day, two-minute respawn.
Once you have the rod, the pier becomes a daily stop. Fish are food, paper, collection entries and Lunker bait. The Lunker is a group eddy that appears as a sixth spawn and needs two or three players reeling together; it is the first activity that rewards you for introducing yourself to strangers.
Gate check: If the rod is not in your Skill Menu, you have not equipped it. Fishing is a skill, not an inventory item.
Act 6: the first wilderness
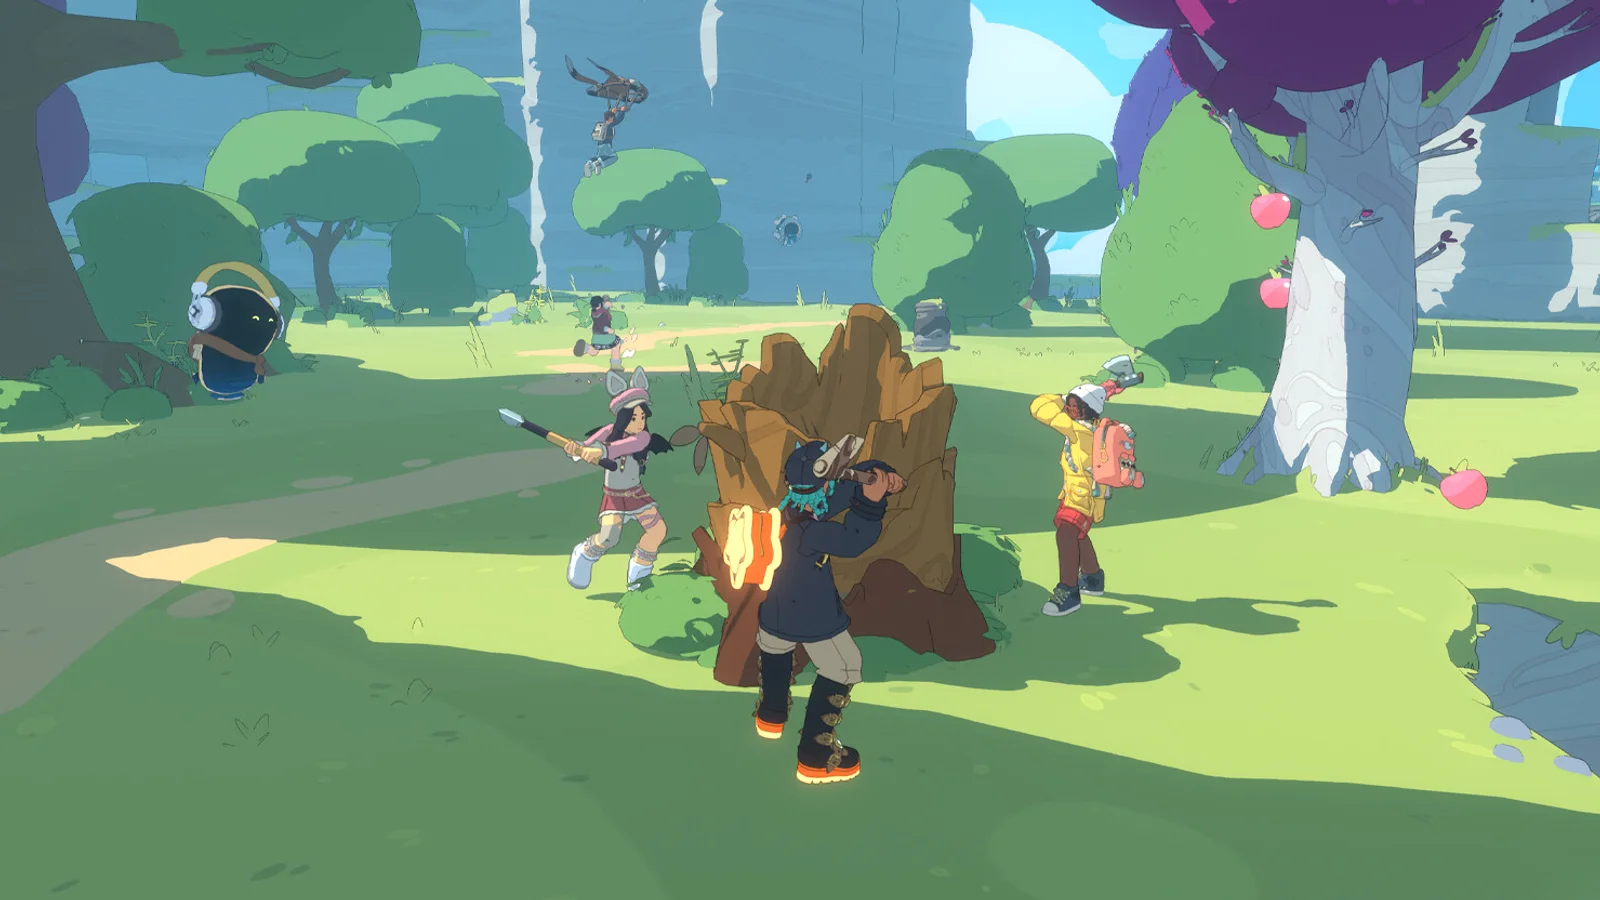
The wilderness loop is where the game stops holding your hand. You get ore, wood, clay, old pots and blots, and you meet the harvest minigame properly: a ring closes on the node, and a well-timed press yields bonus material. Tools have durability, so carry a spare or repair before a long run.
Do not clear the whole wilderness in one trip. The daily caps are generous but finite: six ore rocks, ten wood stumps, seven clay relics, ten old pots per wilderness. A 30-minute route that hits those caps is better than a two-hour walk that ignores them.
Gate check: If a node says you need a better tool, that is a forging gate, not a level gate. Raise the beacon to rank 4 and upgrade at the waystation forge.
Act 7: the first storm defense
The campaign scripts a storm once you have something to lose. The warning is a purple cloud and a three-minute countdown. Shelter at a bonfire, sit, and wait. Do not try to outrun the storm or protect the beacon by standing next to it; there is no combat.
During the storm, instruments pass the time and build a group buff. After it ends, collect meteors and repair damaged structures. If the beacon was overwhelmed, the waystation loses members and progress. That is the failure state the campaign wants you to see once.
Gate check: If the storm never triggers, advance another quest step or wait for the next scheduled window. Waystation storms occur roughly twice a week; wilderness storms are more frequent.
Act 8: the first festival
The festival is the social finale of the opening arc. It combines instrument play, food, decorations and group emotes. There is no score and no fail state. Attend, play one song, and talk to the NPCs you have been helping; several friendship quests advance only during the event.
After the festival, the campaign opens into the daily loop: quests, collections, waystation rank, home decoration, and the roadmap content. There is no "endgame" in the combat sense. The long-term goals are the 216-fish collection, full waystation rank, friendship levels, and a house that looks like you.
FAQ
How long is the Spirit Crossing campaign? The opening arc is roughly 8–12 hours spread across several real days because of daily gates. There is no final boss; the "ending" is the first festival, after which the game becomes a daily social sandbox.
Can I rush the campaign? Not really. Quests and resources reset daily, and several steps require a new day. You can optimize the hours you play, but you cannot compress the calendar.
Do I need to finish the campaign to decorate? No. Housing unlocks with the Moving quest, and decoration is available as soon as you have recipes and materials. Many players spend their first week decorating before finishing act 6.
What should I do after the first festival? Pick one long-term track: fish collection, waystation rank, friendship levels, or a decorated home. Doing all four at once is how the daily loop turns into a chore.
Sources
- Spirit Crossing on Steam ↗ — official feature overview and launch date.
- Spirit Crossing roadmap 2026–2027 ↗ — what comes after the launch arc.
- Spirit Crossing support ↗ — design overview and Cozy Grove comparison.
- At what time does the day reset? ↗ — daily gate timing.